Introduction to Worm Bins
Worm bins, also known as vermiculture systems, play a significant role in modern composting practices by providing an efficient and environmentally friendly method of waste management. These specialized composting containers utilize the natural behavior of earthworms to decompose organic material, primarily kitchen scraps and yard waste, thus transforming it into nutrient-rich compost. This process is not only efficient but also aids in promoting sustainable gardening practices.
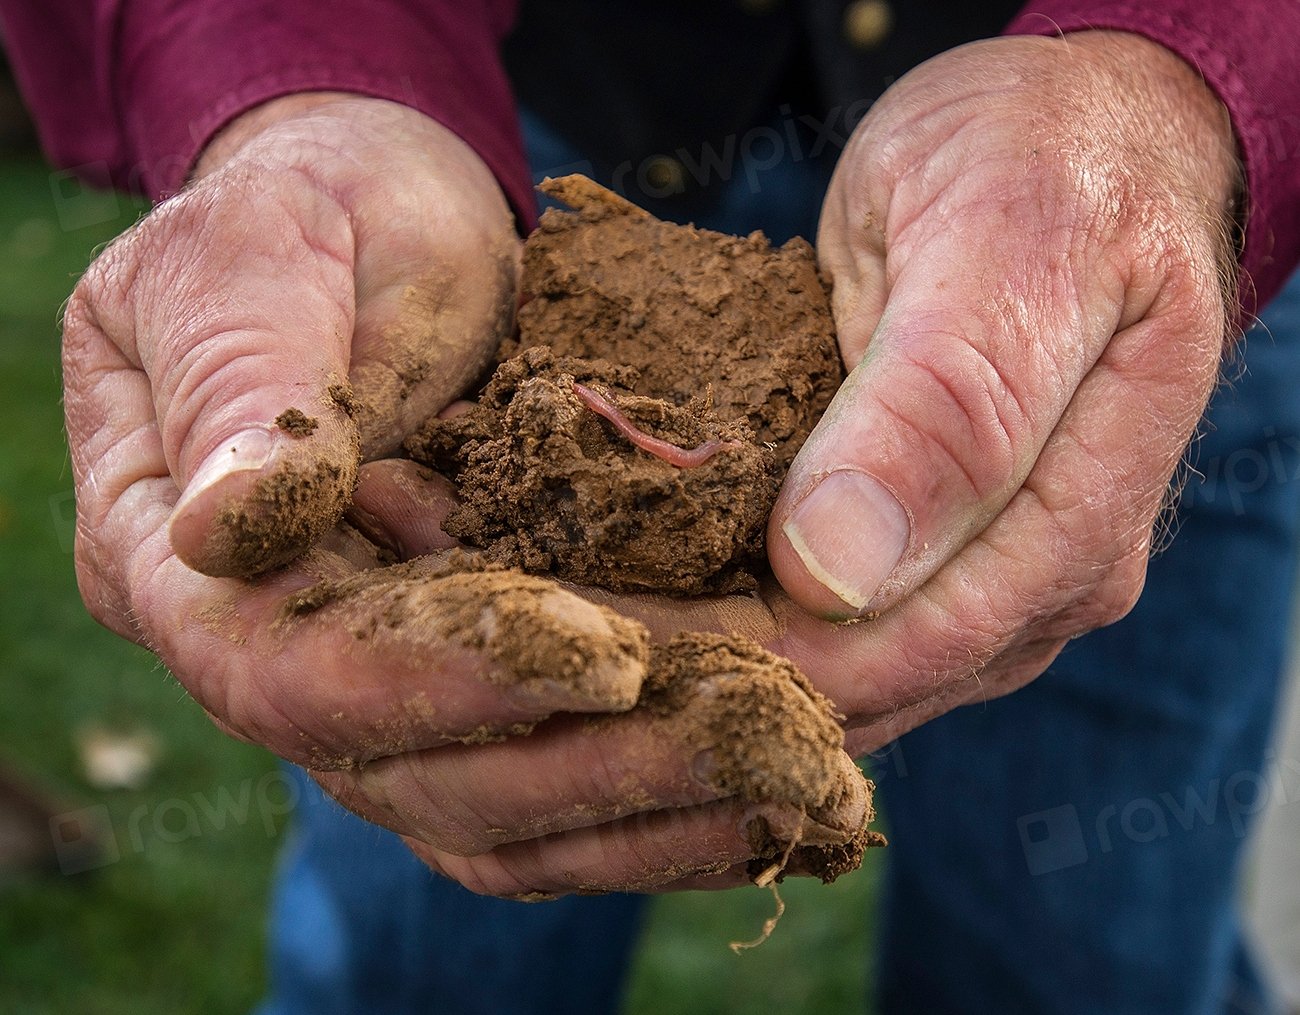
The primary purpose of utilizing a worm bin is to divert organic waste from landfills, which contributes greatly to reducing toxic emissions. By engaging in vermicomposting, individuals are able to manage their waste responsibly while simultaneously enriching their garden soil. The castings produced by worms during this process are often referred to as “black gold” due to their high nutrient content and ability to improve soil health.
In addition to enhancing soil fertility, worm bins provide various advantages that make them appealing for both novice and experienced gardeners. First, they require minimal space, making them an excellent option for urban dwellers or those with limited outdoor areas. Second, they are relatively easy to maintain, with worms requiring only a proper food supply, moisture, and ventilation to thrive. Furthermore, the entire process generates minimal odor when managed correctly, ensuring that even indoor setups remain discreet and pleasant.
Embracing the practice of worm composting not only encourages sustainable waste management but also fosters a connection to nature. Ultimately, this method offers an effective solution for enriching soil while contributing to an eco-friendly lifestyle, making it an attractive option for environmentally conscious individuals.
Types of Worm Bins
When it comes to composting with worms, several types of worm bins cater to varying needs and preferences. Understanding these options can help individuals select the most suitable system for their home and lifestyle.
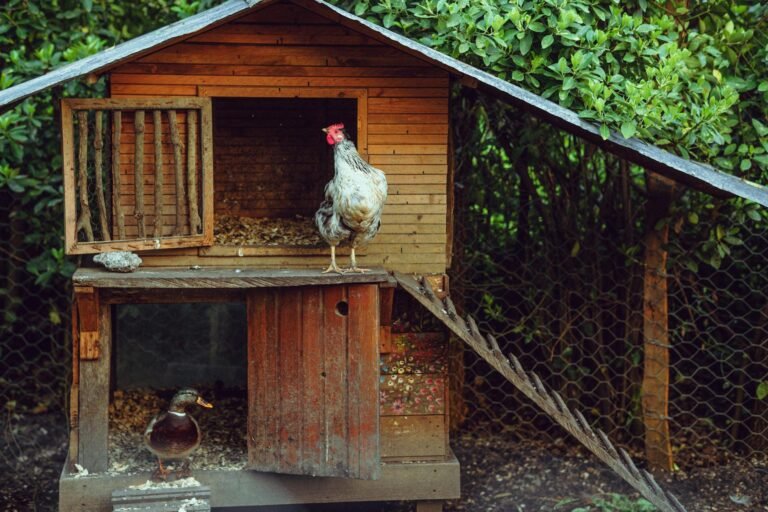
One of the most popular designs is the traditional wooden worm bin, typically constructed from untreated wood. These bins are sturdy and provide excellent insulation, which helps maintain an optimal temperature for worms. However, they require regular maintenance to prevent moisture build-up and potential decay of the material. Wooden bins often blend well with garden aesthetics, making them a favored choice for outdoor composters.
In contrast, plastic bin systems offer a more modern solution. These bins are lightweight and usually come with a lid that helps retain moisture while preventing pests. They are generally easier to clean and maintain than wooden bins. While plastic bins are available in various sizes and can be stacked to save space, they may not provide the same level of insulation and might be prone to cracking in extreme temperatures.
Stackable worm bin systems have gained popularity for their space-saving design. These multi-tiered bins allow users to add new layers of waste as worms work through existing layers, creating efficiency in the composting process. Although stackable systems maximize limited space, they may complicate access to worms and compost, particularly for novice composters.
Lastly, indoor worm bins designed specifically for apartments and small living spaces are an excellent alternative for urban dwellers. Often made from odorless materials, these bins allow worm composting without disturbing neighbors. Despite their practicality, some indoor systems may require careful monitoring to maintain appropriate conditions for the worms.
Ultimately, the choice of worm bin depends largely on individual preferences, available space, and composting goals.

Choosing the Right Type of Worm Bin for Your Needs
When considering the right type of worm bin, it is essential to evaluate various factors that align with your personal needs and gardening goals. One of the primary considerations is space availability. Worm bins come in different sizes, allowing them to fit in either small urban apartments or larger outdoor settings. For those with limited space, compact worm bins, such as the stackable varieties, are highly beneficial as they maximize productivity in a smaller footprint.
The volume of kitchen waste you generate is another critical factor in selecting an appropriate worm bin. If you produce a significant amount of organic waste, a larger bin or multiple bins may be required to accommodate this output without overwhelming the worm population. Conversely, those producing minimal waste might find smaller bins more manageable.
Aesthetics also play a role in your choice of worm bin. Various designs and materials are available on the market, including wooden, plastic, and metal options. Choosing a bin that complements your home or garden décor not only enhances visual appeal but can also encourage greater engagement with your composting efforts.
Functionality is another important aspect to consider. Some worm bins are designed for easier maintenance, featuring systems that allow for simple harvesting of finished compost. This can be particularly useful for novice gardeners who may require additional assistance in managing their composting processes. Logistic considerations, such as where the worm bin will be kept and how often you will interact with it, should also influence your selection.
Lastly, budget considerations will impact your decision. Worm bins are available at various price points, so it is advisable to balance quality and functionality with your financial parameters. By carefully assessing these factors, you can choose the worm bin that best suits your needs, ensuring a fruitful composting experience.
Essential Materials for Building a Worm Bin
To successfully build a worm bin, certain essential materials are required to create an optimal environment for your composting worms. The foundation of your worm composting system is the container, which can range from simple plastic bins to specialized worm farming kits. A standard plastic storage container with a lid, approximately 10 to 20 gallons in size, is often recommended due to its affordability and accessibility. Ensure your container has several drainage holes drilled into the bottom to allow excess moisture to escape, preventing waterlogging.
Next, the selection of bedding materials is critical for the health and productivity of your worms. Suitable bedding includes shredded newspaper, cardboard, coconut coir, or peat moss, as these materials provide a comfortable habitat while maintaining adequate moisture levels. It is recommended to thoroughly moisten the bedding material before adding it to the bin, as worms thrive in a damp environment.
Additionally, selecting the right type of worms is crucial in establishing a successful worm bin. Red wigglers (Eisenia fetida) are the most commonly used species for composting due to their ability to thrive in organic waste. Other varieties, such as European Nightcrawlers or African Nightcrawlers, can also be utilized, but they may require different conditions. These worms can often be sourced from local gardening centers, bait shops, or online suppliers.
Finally, basic kitchen scraps such as fruit and vegetable peelings, coffee grounds, and eggshells will serve as food for the worms, enhancing the composting process. Aim to avoid meats, dairy, and oily foods to prevent unwanted odors and pests. By gathering these materials, you can establish a functional and sustainable worm bin right at home.

Step-by-Step Guide to Building a Worm Bin at Home
Creating a worm bin at home is an environmentally friendly way to recycle kitchen scraps and produce nutrient-rich compost. The process is straightforward and can be completed with minimal materials. Below is a detailed step-by-step guide to constructing your DIY worm bin.
Initially, select a suitable container for your worm bin. Common options include plastic storage bins or wooden boxes. Ensure the container has a lid and is between 10 to 18 inches deep to provide ample space for the worms. Drill several small holes in the bottom for drainage; worms require moisture but can drown if the bin becomes too wet.
Next, prepare the bedding for your worms. Shredded newspaper, cardboard, and coconut coir work effectively as bedding materials. Fill the bin about one-third full with this bedding, and moisten it lightly. The bedding should be damp but not soggy, as excess moisture can lead to anaerobic conditions.
After preparing the bedding, introduce the worms to their new environment. Red wigglers (Eisenia fetida) are ideal for vermicomposting due to their efficient composting abilities. Place approximately one pound of worms in the bin, allowing them to acclimate to their surroundings. Cover the worms with more bedding to give them a sense of security.
Feed your worms by adding kitchen scraps, like fruit and vegetable peelings, into the bin. Avoid meat, dairy, and oily foods, as these can attract pests and create unpleasant odors. Rotate feeding spots to encourage worms to move freely through the bin.
Lastly, maintain your worm bin by monitoring moisture levels and ensuring adequate aeration. Stir the bedding occasionally to prevent compaction and promote airflow. After a few months, the worms will break down the organic matter, resulting in rich compost that can be harvested and used in your garden. Following these steps will help you create a thriving worm bin at home while promoting sustainable practices.
Feeding Your Worms: What to Include and Avoid
When it comes to maintaining a healthy worm bin, understanding the appropriate diet for your worms is crucial. Worms, particularly red wigglers, thrive on a diet rich in organic matter. Suitable food items include fruit and vegetable scraps, coffee grounds, crushed eggshells, and shredded paper. These foods not only provide essential nutrients but also contribute to the overall health of the bin’s ecosystem. It’s important to chop larger food scraps into smaller pieces, as this facilitates quicker decomposition, allowing worms to access the nutrients more efficiently.
While it may be tempting to dispose of kitchen waste into the bin, certain items should be strictly avoided. Citrus peels, onions, garlic, dairy products, meat, and oily foods can create an imbalanced environment that is detrimental to the worms. These foods can attract pests and produce foul odors, rendering the worm bin less effective. Additionally, it’s crucial to avoid adding processed foods and any items that contain chemicals or pesticides, as these can harm the worms and disrupt their delicate ecosystem.
Moreover, managing a consistent feeding schedule is vital to ensure your worms receive adequate nutrition without becoming overwhelmed. Feeding worms once a week is generally sufficient, allowing them to consume the food before new scraps are added. Monitoring the food level in the bin helps avoid overfeeding, which can lead to anaerobic conditions and poor composting results. It’s also advisable to occasionally adjust the feeding frequency based on the worm population and the decomposition rate of the added food. By providing your worms with the right diet and understanding what to avoid, you can effectively create a thriving worm bin that produces rich compost for your garden.

Maintaining Your Worm Bin for Optimal Performance
Effective maintenance of your worm bin is crucial for achieving optimal performance and ensuring that the worms thrive while efficiently processing organic waste. One of the most important factors to monitor is moisture levels, as worms require a damp environment to survive. Aim for a moisture content similar to that of a wrung-out sponge. Should you find the bin too dry, add water cautiously; conversely, if it’s too wet, introduce dry bedding materials such as shredded newspaper or cardboard to absorb excess moisture.
Temperature regulation is equally vital in maintaining a healthy worm bin. Ideally, the temperature should range between 55°F to 77°F (13°C to 25°C). To ensure this, position your worm bin away from direct sunlight and extreme cold. Utilizing a thermometer allows for accurate monitoring, and adjustments can be made as necessary, such as relocating the bin or insulating it during colder months.
Harvesting worm castings, also known as vermicompost, should be carried out methodically. After a few months, the castings will accumulate at the bin’s bottom. Utilize a simple technique by harvesting from the bottom. This encourages the worms to migrate towards the new food source. Regular harvesting promotes efficient waste processing and prevents overcrowding.
Common issues, such as unpleasant odors or pest infestations, can usually be resolved with prompt attention. Odors typically indicate an imbalance; an excess of food or moisture might be the cause. If necessary, reduce feeding frequency or adjust moisture levels by adding dry materials. For pests such as fruit flies, ensure that the bin’s surface is adequately covered and maintain proper ventilation.
By implementing these maintenance practices, you can ensure a robust worm bin that continually contributes to your gardening success.
Harvesting Vermicompost: How and When
Harvesting vermicompost, also known as worm castings, is a critical aspect of maintaining a productive worm bin. It not only provides nutrient-rich compost for your plants but also ensures the well-being of the worm population. To determine when to harvest, look for specific signs indicating that the castings are ready. The presence of dark, crumbly material resembling rich soil is a primary indicator. Additionally, when the worms begin to consume the available food waste at a slower rate or the bin appears full, it may be time to proceed with the harvesting process.
One effective method for separating worms from castings involves utilizing light. Worms are sensitive to light and tend to burrow away from it. By spreading the vermicompost onto a flat surface in a well-lit area, you can gently encourage them to move to the darker parts of the material. After a short period, you can selectively harvest the top layer of castings while leaving the worms underneath. Another technique is to train the worms by slightly altering their feeding schedule; stop food input in one side of the bin, allowing them to migrate to the other side. This way, you can remove the castings from the side where the worms have relocated.
It’s essential to minimize disruption to your worm population during the harvesting process. Avoid over-disturbing the bin, as this could stress the worms. By using these methods, you can effectively collect vermicompost while ensuring that the worm ecosystem remains intact. Harvesting should be done every three to six months, depending on the activity level of your worms and the quantity of food scraps being processed. With a consistent approach, you can enjoy a steady supply of nutrient-rich vermicompost for your garden.

Using Vermicompost in Your Garden
Vermicompost, a nutrient-rich organic matter produced by the decomposition of organic waste through the action of earthworms, serves as an excellent amendment for various types of gardens. The application of vermicompost enhances soil fertility significantly, providing essential nutrients that promote healthy plant growth. Its rich microbial content not only enriches the soil profile but also improves its structure, leading to better moisture retention and aeration, which are vital for root development.
Utilizing vermicompost in your garden presents various benefits. Firstly, it improves nutrient availability for plants, offering a balanced supply of nitrogen, phosphorus, potassium, and micro-nutrients. This organic fertilizer helps plants resist diseases and pests, thereby reducing the reliance on chemical inputs which can harm the environment. Additionally, the naturally occurring microorganisms within vermicompost aid in breaking down organic material in the soil, further enhancing nutrient cycling and promoting a thriving ecosystem.
When it comes to applying vermicompost, the method may vary based on specific gardening situations. For vegetable gardens, mixing vermicompost into the soil prior to planting provides a nutrient-dense foundation for crops. For existing plants, a layer of vermicompost can be spread around the base as a top-dressing, allowing nutrients to gradually seep into the soil with watering. In container gardens, blending vermicompost with potting soil enhances the growth medium, leading to healthier plants overall.
In the context of sustainable gardening practices, vermicompost serves as a particularly beneficial alternative to chemical fertilizers. By implementing this organic option, gardeners can enrich their soil, boost plant productivity, and contribute positively to environmental health, thereby supporting eco-friendly gardening efforts.
If you enjoy our content, please consider donating here: